

Quick answer: A good VPS security checklist starts on day one: update the system, create a non-root user, switch SSH to key-based login, disable root and password logins, turn on a firewall and install Fail2Ban. After that, keep the server patched automatically, remove services you don’t use, take regular backups and snapshots, watch your logs and secure the apps you run. Most VPS attacks succeed because one of these basics was skipped.
A VPS gives you your own server, with root access and full control. That freedom comes with responsibility. The moment a new server goes online, automated bots start knocking on its door, trying common passwords and looking for old software. Many servers see their first login attempts within minutes.
At KhaleejHost we set up and support VPS servers for UAE businesses, agencies and developers, and we see the same security gaps again and again. This VPS security checklist walks you through every step, in the order you should do them, with simple commands for Ubuntu and Debian. Use it on a new server or to check one you already run.
Table of Contents
- Why VPS Security Is Your Job
- Common Threats to a VPS Server
- VPS Security Checklist: The First Hour
- Ongoing VPS Server Security Tasks
- Linux VPS Hardening: Extra Steps for Advanced Users
- Securing the Apps on Your VPS
- Backups and Snapshots: Your Safety Net
- What to Do If Your VPS Is Hacked
- Managed vs Unmanaged VPS Security
- The Complete VPS Security Checklist at a Glance
- Frequently Asked Questions
- Conclusion
Why VPS Security Is Your Job
On shared hosting, the provider looks after the server and you only manage your website. A VPS works differently. You get an isolated virtual server with its own operating system, and on an unmanaged plan you control everything inside it: users, software, updates and firewall rules. If you are new to this, our guide to what VPS hosting is explains how it differs from shared hosting.
Your host protects the physical hardware, the network and the virtualisation layer. What happens inside your server is your side of the deal. That is why a clear VPS security checklist matters: it turns a long list of “should do” items into a routine you can actually follow.
The good news is that most attacks on a VPS are not clever. They are automated scripts looking for easy wins: weak passwords, root logins, old software and open ports. Close those doors and you stop the large majority of them.
Common Threats to a VPS Server
Knowing what you are defending against makes every step on this VPS security checklist make sense.
| Threat | What happens | Main defence |
|---|---|---|
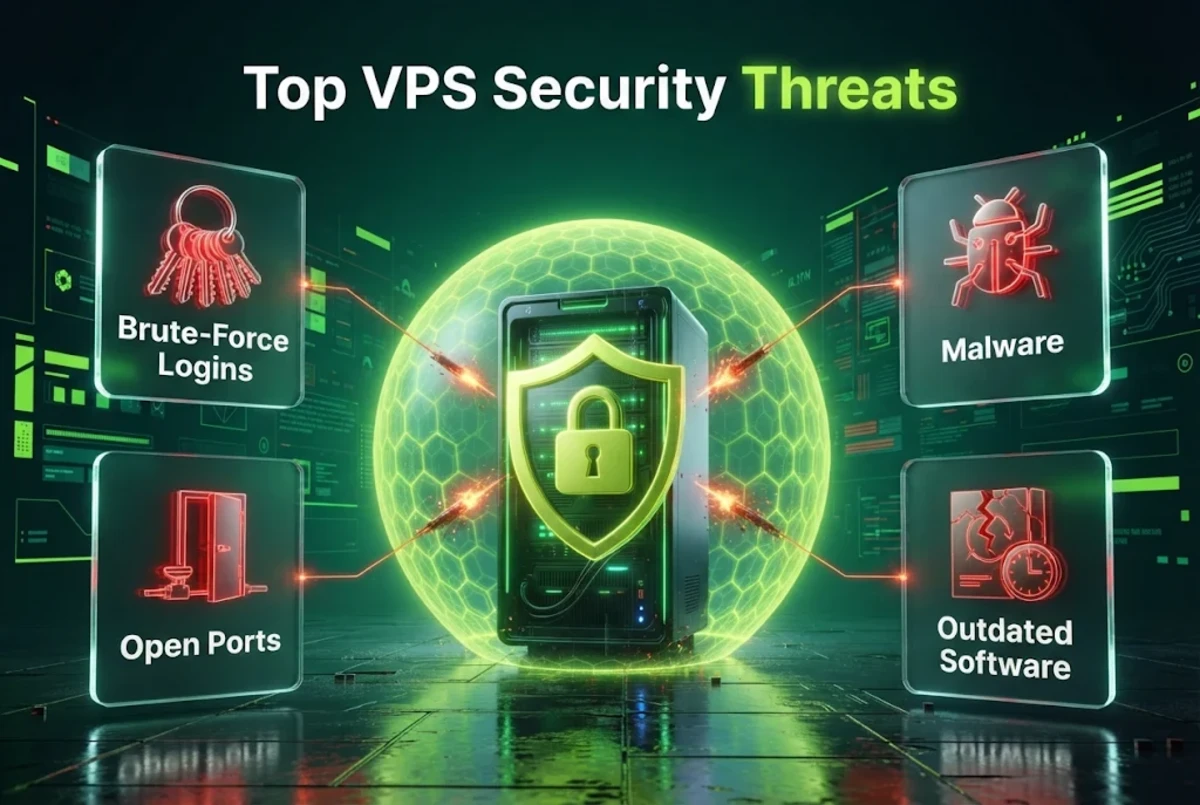
| Brute-force logins | Bots try thousands of passwords on SSH | SSH keys, no password login, Fail2Ban |
| Unpatched software | Attackers use known bugs in old packages | Regular and automatic updates |
| Open ports | Services like databases are reachable from the internet | Firewall with only needed ports open |
| Malware and crypto miners | Server resources are used for someone else’s gain | Patching, monitoring, malware scans |
| Hacked web apps | An old plugin or CMS gives attackers a way in | App updates, least privilege, WAF |
| Data loss or ransomware | Files are deleted or encrypted | Off-server backups and snapshots |
VPS Security Checklist: The First Hour
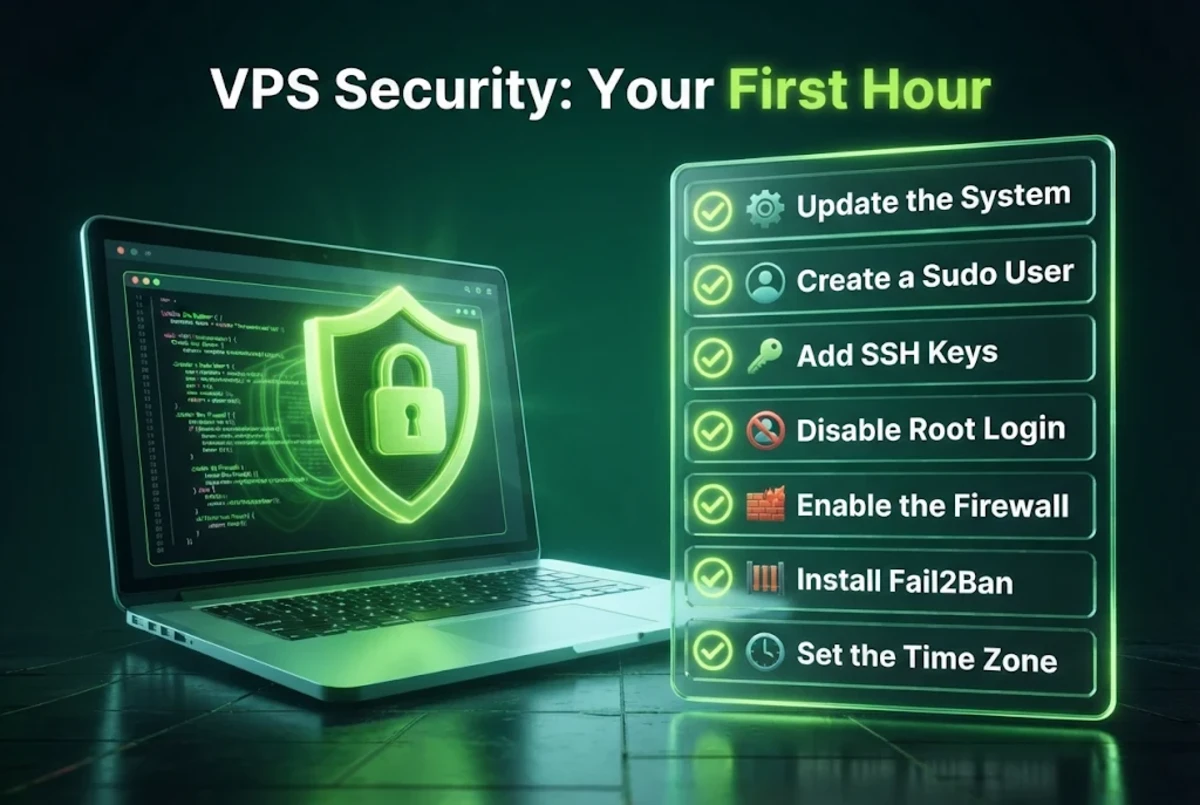
These steps should happen before you install your website or app. Doing them first means your server is never exposed in its weakest state. The commands below are for Ubuntu and Debian; other Linux systems use similar steps with different package tools.
1. Update the system
New server images are often weeks or months old. Install every available update straight away:
sudo apt update && sudo apt upgrade -yReboot if the kernel was updated.
2. Create a non-root user with sudo
Working as root all the time means one typo or one stolen password can do unlimited damage. Create a normal user and give it admin rights only when needed:
adduser yourname
usermod -aG sudo yourname
3. Use SSH keys instead of passwords
An SSH key is far harder to guess than any password. Create a key pair on your own computer and copy the public key to the server:
ssh-keygen -t ed25519
ssh-copy-id yourname@your-server-ip
Log in with the key in a new window before you change anything else, so you can’t lock yourself out.
4. Disable root login and password login over SSH
This one change stops most brute-force attacks dead. Open /etc/ssh/sshd_config and set:
PermitRootLogin no
PasswordAuthentication no
Then restart SSH with sudo systemctl restart ssh. The OpenSSH manual lists every setting if you want to go further, such as allowing only certain users to log in.
5. Turn on a firewall
A firewall decides which ports anyone can reach. Allow only what you need, usually SSH, HTTP and HTTPS:
sudo ufw allow OpenSSH
sudo ufw allow 80/tcp
sudo ufw allow 443/tcp
sudo ufw enable
Always allow SSH before enabling the firewall. If your plan includes firewall rules at the network level, set them up there too for a second layer.
6. Install Fail2Ban
Fail2Ban watches your login logs and blocks IP addresses that fail too many times. It is simple to set up and cuts noise from bots right away:
sudo apt install fail2ban -y
sudo systemctl enable --now fail2ban
7. Set the time zone and hostname
It sounds minor, but correct time makes logs readable and helps when you investigate a problem. Set your server to your local time zone, such as Asia/Dubai, with sudo timedatectl set-timezone Asia/Dubai.
Ongoing VPS Server Security Tasks
Security isn’t a one-time setup. A VPS security checklist only works if you keep coming back to it, and these tasks keep your VPS server security strong month after month.
8. Turn on automatic security updates
Most successful attacks use bugs that already have a fix. Automatic security updates close those gaps without you having to remember:
sudo apt install unattended-upgrades -y
sudo dpkg-reconfigure --priority=low unattended-upgrades
9. Remove services you don’t use
Every running service is a possible way in. List what is listening with sudo ss -tulpn and remove or stop anything you don’t need. Databases such as MySQL should listen only on localhost unless another server truly needs to reach them.
10. Use strong passwords and two-factor authentication everywhere else
Your SSH may be locked down, but your hosting account, control panel, WordPress admin and database users still need strong, unique passwords. Turn on two-factor authentication wherever it is offered, starting with your hosting client area.
11. Follow least privilege
Give each user, app and database account only the access it needs. Your website’s database user doesn’t need rights on every database. A developer who only deploys code doesn’t need full sudo.
12. Watch your logs and resources
Unusual CPU use, unknown processes or a sudden spike in outgoing traffic are classic signs of a compromised server. Check /var/log/auth.log for login attempts, and set up simple monitoring and alerts so problems reach you quickly.
13. Scan for malware and rootkits
Tools such as ClamAV, rkhunter or Lynis can scan your server and point out weak settings or suspicious files. Run a check monthly, and after any security scare.
Linux VPS Hardening: Extra Steps for Advanced Users
Once the basics on this VPS security checklist are in place, you can go further. These Linux VPS hardening steps take a little more skill, but they add useful layers for busy or sensitive servers.
- Tighten SSH security further. Allow only named users with
AllowUsers, lowerMaxAuthTries, and set an idle timeout so forgotten sessions close on their own. Good SSH security is the front door of the whole server. - Restrict SSH by IP. If your team works from fixed IP addresses, allow SSH only from those addresses in the firewall. Bots elsewhere can’t even reach the login prompt.
- Use a VPN or bastion host. For teams, connect to servers through a VPN or one hardened jump server instead of exposing SSH on every machine.
- Run a security audit tool. Lynis scans your system and gives a hardening score with clear suggestions. It is an easy way to check how well you have applied Linux VPS hardening.
- Enable file integrity monitoring. Tools like AIDE record what your system files should look like and alert you when something changes unexpectedly.
- Run apps in containers or separate users. If one app is compromised, isolation keeps the damage contained.
You don’t need all of these on day one. Start with the core VPS security checklist, then add the extra layers as your server becomes more important to the business. That is the practical answer to how to secure a VPS without getting lost in theory.
Securing the Apps on Your VPS
A VPS security checklist that stops at the operating system is only half done. A hardened server can still be broken into through the website running on it. In practice, the web app is often the weakest point.
- Install SSL on every site. HTTPS protects logins and form data. See our guide to SSL certificates for UAE websites.
- Keep your CMS and plugins updated. For WordPress, remove unused plugins and themes and update the rest regularly.
- Set safe file permissions. Folders usually 755, files 644, and config files like wp-config.php tighter still. Never use 777.
- Add a web application firewall (WAF). A WAF filters attacks such as SQL injection and bad bots before they reach your site.
- Keep the control panel updated. If you run cPanel or another panel, update it and limit who can log in.
- Separate client sites. Agencies hosting many sites should give each one its own user and database, so one hacked site can’t spread. Our post on protecting your clients’ websites covers this in more detail.
Backups and Snapshots: Your Safety Net
Backups are the part of any VPS security checklist that people skip most often. Even with every step done, things can still go wrong: a bad update, a mistake in a command, or an attack nobody saw coming. Backups decide whether that is a short delay or a disaster.
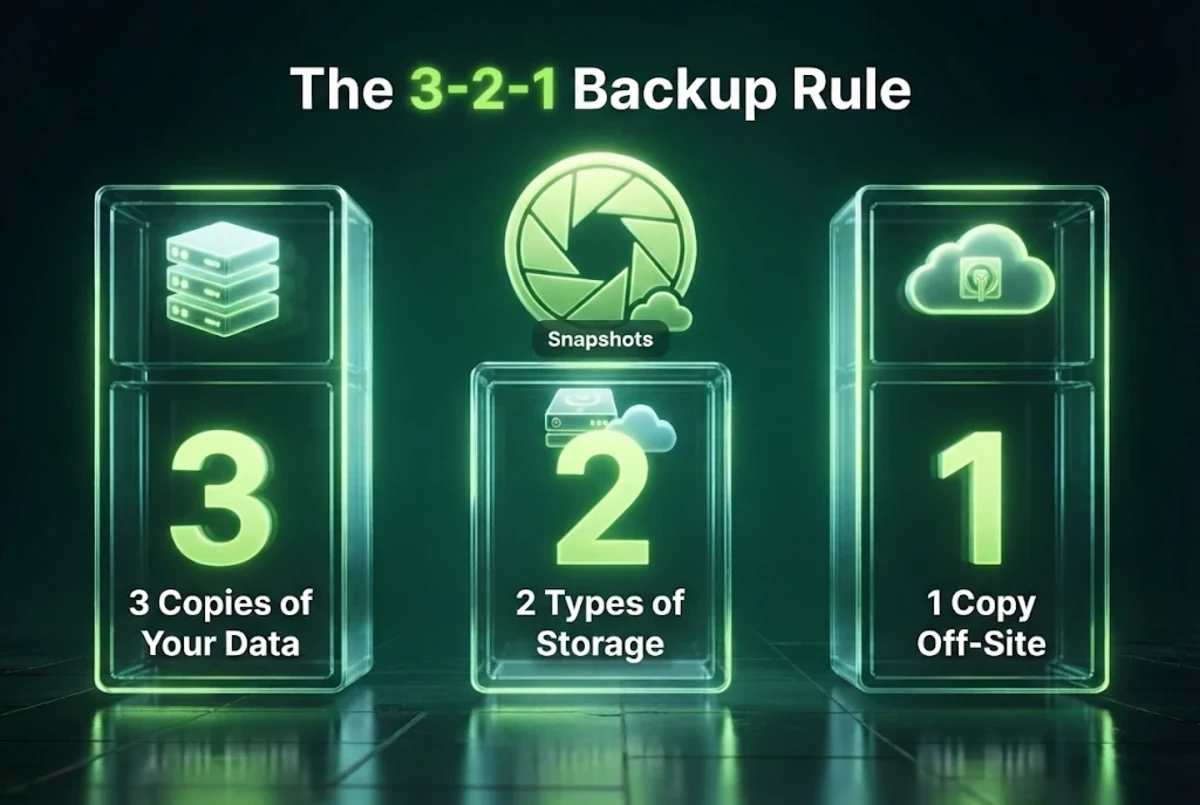
- Follow the 3-2-1 rule. Keep 3 copies of your data, on 2 different types of storage, with 1 copy away from the server.
- Use snapshots before big changes. A snapshot saves the whole server state, so you can roll back after a failed upgrade. KhaleejHost Cloud VPS plans include one to three snapshots depending on the plan.
- Back up databases separately. Schedule daily database dumps and copy them off the server.
- Test your restores. A backup you have never restored is only a hope. Try a restore every few months.
For a deeper look at recovery planning, read our guide to backup and disaster recovery.
What to Do If Your VPS Is Hacked
No VPS security checklist can promise you will never be attacked. If you see strange processes, unknown users, spam being sent from your server or a warning from your host, act quickly and calmly:
- Isolate the server. Limit access with the firewall so the attacker can’t keep using it.
- Take a snapshot for investigation before you change anything, if you need to find out what happened.
- Change every password and key, including SSH keys, panel logins, database users and API keys.
- Find the way in. Check auth logs, web server logs and recently changed files.
- Rebuild from a clean backup where possible, rather than trying to clean a deeply compromised system.
- Fix the cause, such as an old plugin or a weak password, before you go live again.
- Contact your host’s support team. They can help with network-level blocks and recovery options.
Managed vs Unmanaged VPS Security
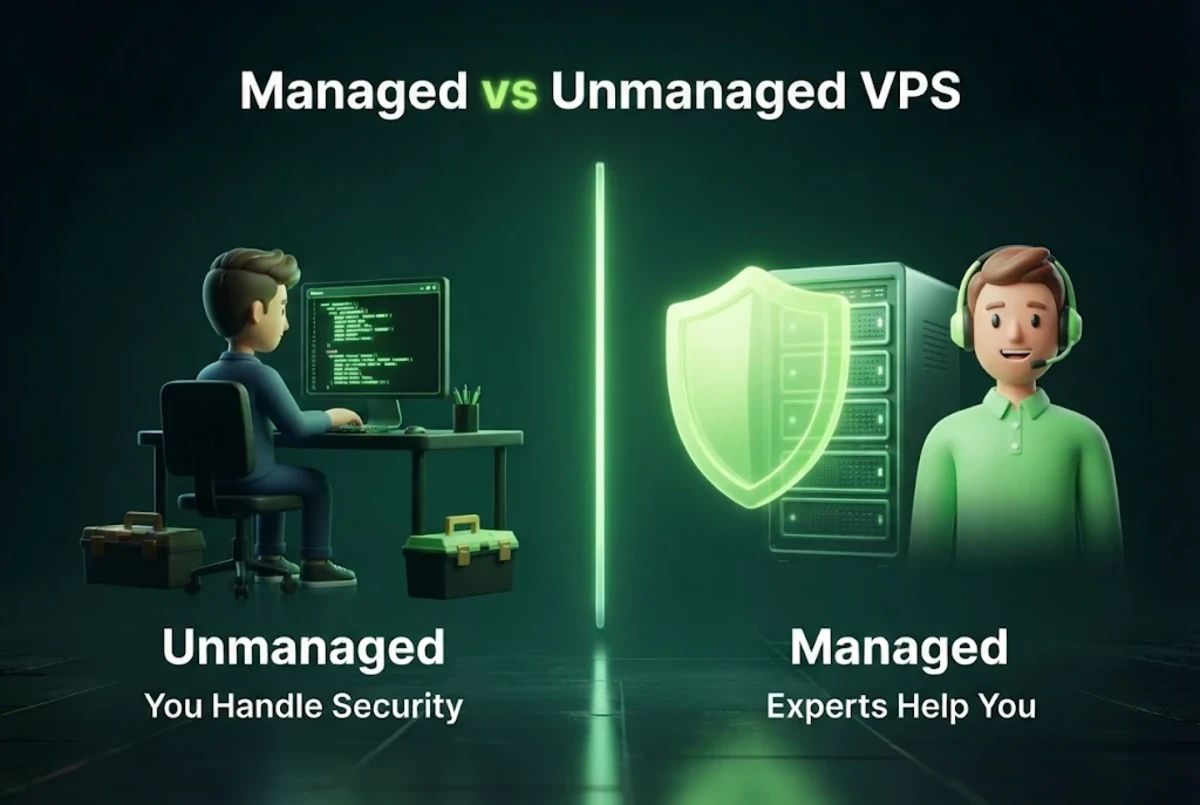
Not everyone wants to be a part-time system administrator. Which type of VPS you choose changes who handles this VPS security checklist.
| Task | Unmanaged VPS | Managed VPS |
|---|---|---|
| Initial server hardening | You | Help available from the host |
| System updates | You | Usually handled for you |
| Monitoring | You set it up | Often included |
| App and website security | You | Mostly you, with support |
| Best for | Developers and sysadmins | Businesses without in-house IT |
The exact services vary by package, so always check what is included. Our guide to managed vs unmanaged hosting in the UAE compares both in more depth.
KhaleejHost offers both options on our VPS hosting plans. You get an isolated virtual server, root access, configurable firewall rules, a choice of operating systems and snapshots, plus help from our support team when you need it. Still choosing a size? Read how much RAM and CPU your VPS needs and our breakdown of VPS hosting cost in the UAE.
The Complete VPS Security Checklist at a Glance
Here is the full VPS security checklist in one table. Save or print it and tick it off for every new server.
| When | Task |
|---|---|
| Day 1 | Update system, create sudo user, add SSH keys, disable root and password login, enable firewall, install Fail2Ban, set time zone |
| Before launch | Install SSL, set file permissions, lock database to localhost, take first snapshot, set up backups |
| Weekly | Check auth logs and resource use, update apps and plugins |
| Monthly | Run malware and security scans, review users and open ports |
| Quarterly | Test a backup restore, rotate passwords and keys, remove old accounts |
If your server keeps running out of resources even after cleanup, it may be time to grow. See when you should upgrade to VPS hosting and our comparison of cloud hosting vs VPS.
Frequently Asked Questions
What is the first thing to do on a new VPS for security?
Update the operating system, then create a non-root user with sudo rights and set up SSH key login. After that, disable root and password logins and turn on a firewall.
Is a VPS secure by default?
A VPS is isolated from other customers, but the software inside it is only as secure as its setup. A fresh server with default settings and root password login is an easy target for bots, so hardening is essential.
Should I change the default SSH port?
Changing the port reduces bot noise in your logs, but it isn’t real protection on its own. SSH keys, no password login and Fail2Ban matter far more. If you do change it, update your firewall first so you don’t lock yourself out.
Do I need antivirus on a Linux VPS?
Linux servers are less often targeted by classic viruses, but they do get malware, crypto miners and hacked website files. A scanner such as ClamAV or rkhunter, plus regular updates and monitoring, is a sensible part of how to secure a VPS.
How often should I update my VPS?
Security updates should install automatically every day. Review and apply other package and app updates at least weekly, and check for control panel updates too.
How do I know if my VPS has been hacked?
Warning signs include high CPU use with no clear reason, unknown processes or users, spam sent from your server, changed website files and login records you don’t recognise.
Is a managed VPS more secure than an unmanaged VPS?
Not automatically, but it is often safer for businesses without a technical team, because updates and monitoring are handled by people who do this every day. On an unmanaged VPS, security depends on how well you follow the checklist.
Does KhaleejHost help with VPS security?
Yes. KhaleejHost VPS plans include root access, configurable firewall rules and snapshots, and you can choose managed or unmanaged options. Our support team can help with VPS-related questions.
Conclusion
A secure server comes down to habits, not luck. Follow this VPS security checklist on day one: update, add a sudo user, switch to SSH keys, block root and password logins, turn on a firewall and Fail2Ban. Then keep going with automatic updates, fewer running services, regular backups, log checks and well-maintained apps.
Do these consistently and your VPS stops being an easy target. And if you would rather spend your time on your business than on server admin, choose a plan where experienced people can help you keep it safe.
Run Your VPS With Confidence
Isolated Cloud VPS servers with root access, firewall control, snapshots and managed or unmanaged options. Plans start from AED 42.24 per month.